
Posted on September 14, 2018
Using the Rainbow in colour on a modern display
In my post about Windows 1.0 on the Rainbow, I mentioned I would like to eventually make up a better video cable that could be used to connect it to a colour display. Well now I have finally succeeded in getting the Rainbow to output to my PC monitor!
I first attempted to use a GBS 8200 board which I did eventually get working with the Rainbow, however the results weren’t as good as I had hoped. The screen was mostly tinted green and it required an extra sync separator circuit based on an LM1881 chip which I built on a bit of strip board. This solution has worked for others but I had trouble with it loosing sync quite often and I was never able to track down the cause. Two things I liked about the GBS 8200 were that it was cheap and that it allowed for easy repositioning of the image on screen. This meant I was able to stop the left hand side of the screen being cut off finally! When displaying a full screen of colour such as when Windows 1.0 loaded in all it’s blue and white glory, the green tint problem went away. It only affects DOS and CP/M text mode applications and is presumably green as the Rainbow outputs it’s monochrome video with sync on the green pin.
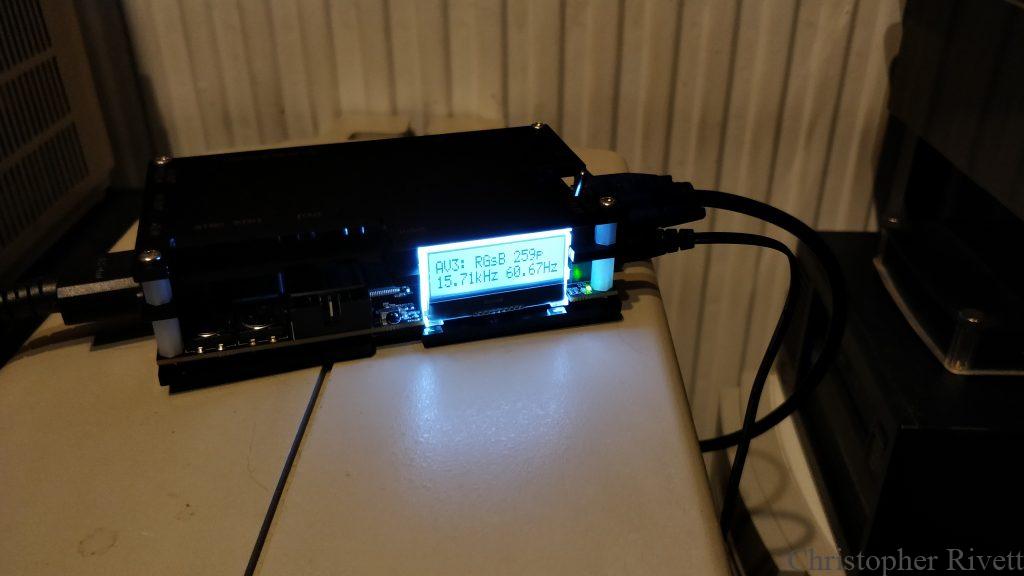
A few months passed since my experiments with the GBS 8200, and when I originally enquired about using a modern display on the Rainbow, someone said the Open Source Scan Converter (OSSC) might be a better option albeit an expensive one. This was a product I was aware of for a while from my research in getting the best video quality out of old video game consoles. Since I have plenty of things that I can use it with, I decided to order one last week. The first thing I tried with it was the Rainbow which I connected to the VGA input using the custom Rainbow video to VGA cable I made for the GBS 8200 previously and selected the AV3 (VGA) RGsB input.
The Rainbow then sprang to life on my TV with the clearest picture I had ever seen from it. I still had the problem of the left hand side of the screen being cut off due to overscan on the TV, but I was over the moon with how well it worked straight out of the box. I tried to adjust the image position using the OSSC but unfortunately this wasn’t possible in the way it was with the GBS 8200. Luckily though, I decided to connect the OSSC to my PC monitor instead since I knew it would allow for more adjustment options and it worked beautifully without any adjustment required, left hand side of the screen intact! Below is a video showing the Rainbow running the colour demo under CP/M’s GSX graphics layer.
Even though it is an expensive option, I would definitely recommend an OSSC to anyone requiring a modern alternative to a VR241 monitor on their Rainbow. It is much less hassle and does not require a sync separator circuit to be built since it supports RGsB right out of the box unlike the GBS 8200.
My next project in this area is to build a breakout box instead of the custom video cable I am currently using. I plan to make it compatible with the Rainbow’s dual head configuration so that I can connect a VGA cable to go to the OSSC and if desired an original VR201 (if I ever get another that doesn’t bleed like my original!) or the custom monochrome composite video cable I made to use with the Rainbow previously as well. This will keep my options open if I ever decide I want to use a dual head configuration in the future. Below are a couple of pictures showing the OSSC set up for use on the Rainbow and the current unfinished looking video cable I am currently using.

Is map.rgi still on that disk (if it is the one I think it is) ?
It’s running from an MFM hard disk emulator, but there is a copy of map.rgi on there as well which I think I got from some files you sent me in the past