
Posted on April 8, 2018
Replacing the Rainbow’s RD51 Hard Disk
As you may have noticed in my last blog post, the RD51 in my Rainbow 100 didn’t sound too healthy. I had seen an MFM Emulator in action before and knew that this would probably be my best option for a long term replacement hard disk. As mentioned in the last post, I used one of David Guesswein’s emulator boards.
I already had a Beagle Bone Black (BBB) board I had bought from eBay prior to ordering the MFM Emulator and had prepared it with the necessary OS image which is based on Debian Linux. It contains all the required configuration scripts to support emulating and creating images of MFM Hard Disks.
The first thing I did upon receiving the board and attaching the BBB, was to connect it up to the original RD51 and using the Rainbow to power both the board and RD51, created an image of the original contents. I took a video which you can see below.
I followed the documentation provided for the MFM Emulator to create a disk image of the RD51 and then used the resulting image with the emulation function. This enabled the Rainbow to boot directly from the MFM board as if it was the original RD51 with all original contents intact.
The hard disk formatting software I had on floppy with my Rainbow only supported the original RD50 (5MB) and RD51 (10MB) drives. However I knew larger drives such as the RD53 could be supported on the Rainbow’s HDD controller. I created a new blank HDD image specifying a drive with 8 heads and 1024 cylinders. This worked successfully and gave me a total of roughly 64MB of formatted capacity. I used WUTIL 3.2 to format the larger emulated disk properly and create partitions for CP/M, Concurrent CP/M and MS-DOS.
I tried to use the original CP/M media I had to install onto the 8MB (which is the largest supported by CP/M) partition I had created for it. This is where I ran into issues. CP/M 1.1 did not appear to support larger hard disks than the original RD50 and RD51 drives. I ended up finding a copy of CP/M 2.1 for the Rainbow in an online software archive and used this instead which worked perfectly. I also ran into the same issue for Concurrent CP/M but did not find a solution to make it recognise the larger hard disk or even work out how to install it to a partition properly as it seems to need a slightly different procedure. If anyone knows what I can do to get around this, please let me know. For now I just reformatted the partition as an extra one for standard CP/M.
For my MS-DOS install, I actually split the remaining space between 2 partitions both currently formatted for MS-DOS. I also used the 3.10B version of MS-DOS for the Rainbow rather than version 2.11 which I had previously. This was mostly due to how I usually like to run as up to date versions of software as I can. It ended up being a good idea anyway though as it is a prerequisite to use this version for the build of Windows 1.0 that was never officially released for the Rainbow. I will detail getting Windows running in my next blog post. I am not currently using the 2nd DOS partition for anything and will likely repurpose it in the future for a VENIX/Rainbow install once suitable disk images to install it become available as WUTIL 3.2 also supports the creation of VENIX partitions.
I used Kermit to copy everything I wanted from the original HDD Image to a Windows 98 laptop and back onto the larger HDD image and then took a backup of the original HDD image as well as the new one to my main PC for safe keeping by connecting to the BBB directly over SFTP while the Ethernet cable was connected.
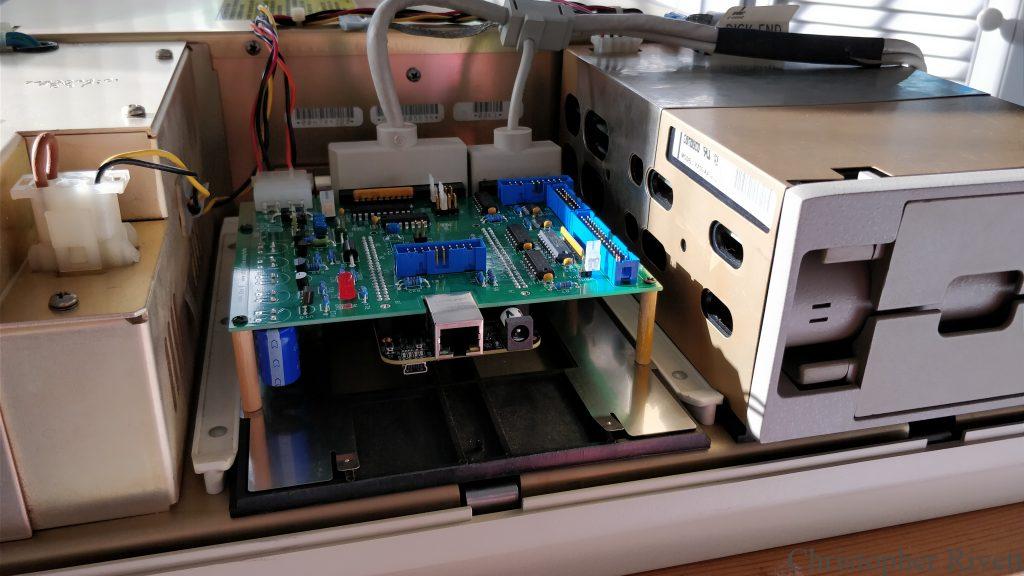
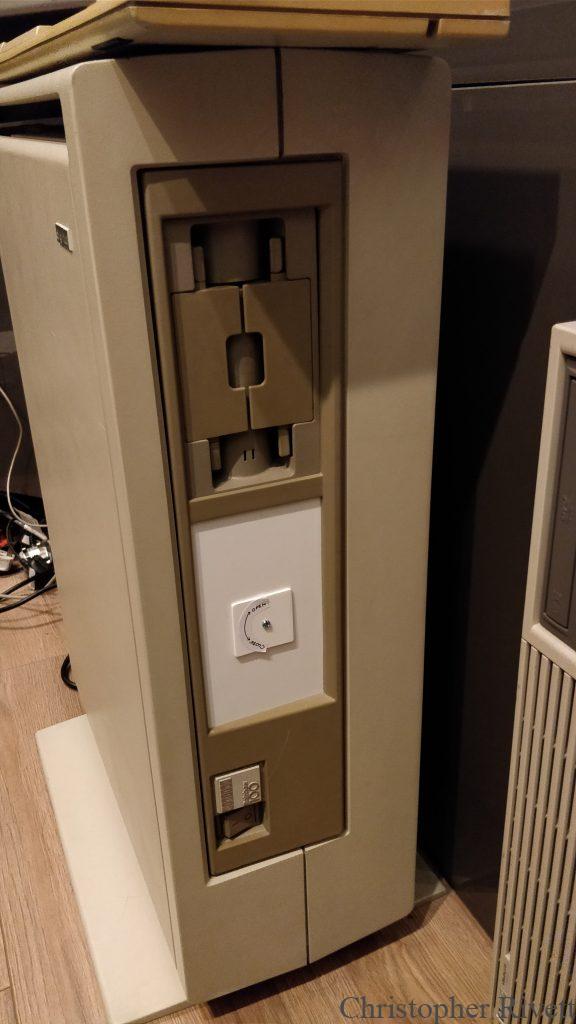
Once I had everything the way I wanted it software wise, I had to find a suitable way of mounting the MFM Emulator properly inside the Rainbow. With some help from my Grandpa, I ended up re-using the original HDD sled and attaching the board with some custom made wooden posts. We also made a plastic cover with a door that can be removed by unscrewing it for access to the BBB’s Ethernet port if necessary in the future. Here are some pictures of the end result.

Hello!
Do you know if this technique would work on a 100a in order to add a hard disk ? Would the bios recognise it ?
Regards
Pascal